Historic plaster walls and ceilings should be left in place and repaired if at all possible. For a lime plaster vs drywall decision in a landmark interior, begin with the existing wall and ceiling. Use the repair choices below to organize the survey before selecting a replacement finish.
After damaged plaster is removed, replacement choice depends in part on original plaster thickness and lath condition. Replacement should retain the previous projection of window and door trim from the plaster wall.
Explore the wider context in our interiors collection and adaptive reuse guide.
Repair or replace: start with the condition
Use this decision table when reviewing a proposed scope of work.
| Condition | Repair or replacement boundary |
|---|---|
| Loose ceiling plaster | Loose ceiling plaster can be reattached with flat-head wood screws and plaster washers if surrounding areas are reasonably sound. |
| Finish-coat separation | For a delaminated finish coat, a plaster-bonding agent is applied to the base coat before a new lime finish coat. |
| Severe deterioration | Partial or complete removal may be necessary for badly damaged plaster, especially after long-term moisture problems. |
| Moisture damage | The moisture source must be eliminated before replastering the damaged area. |
What is behind the lime plaster surface?
Traditional lime plaster contained lime, aggregate, fiber, and water. Lime and gypsum plaster can be difficult to distinguish after curing.
Begin the survey by recording the substrate and the surviving coats.
Lime plaster was often applied directly to masonry, forming a suction bond. Plaster over wood and metal lath is applied in scratch, brown, and finish coats. Wood lath usually consists of narrow, thin strips with spaces between them. Wet plaster is pushed through the spaces in the wood lath. Plaster keys hold the plaster in place.
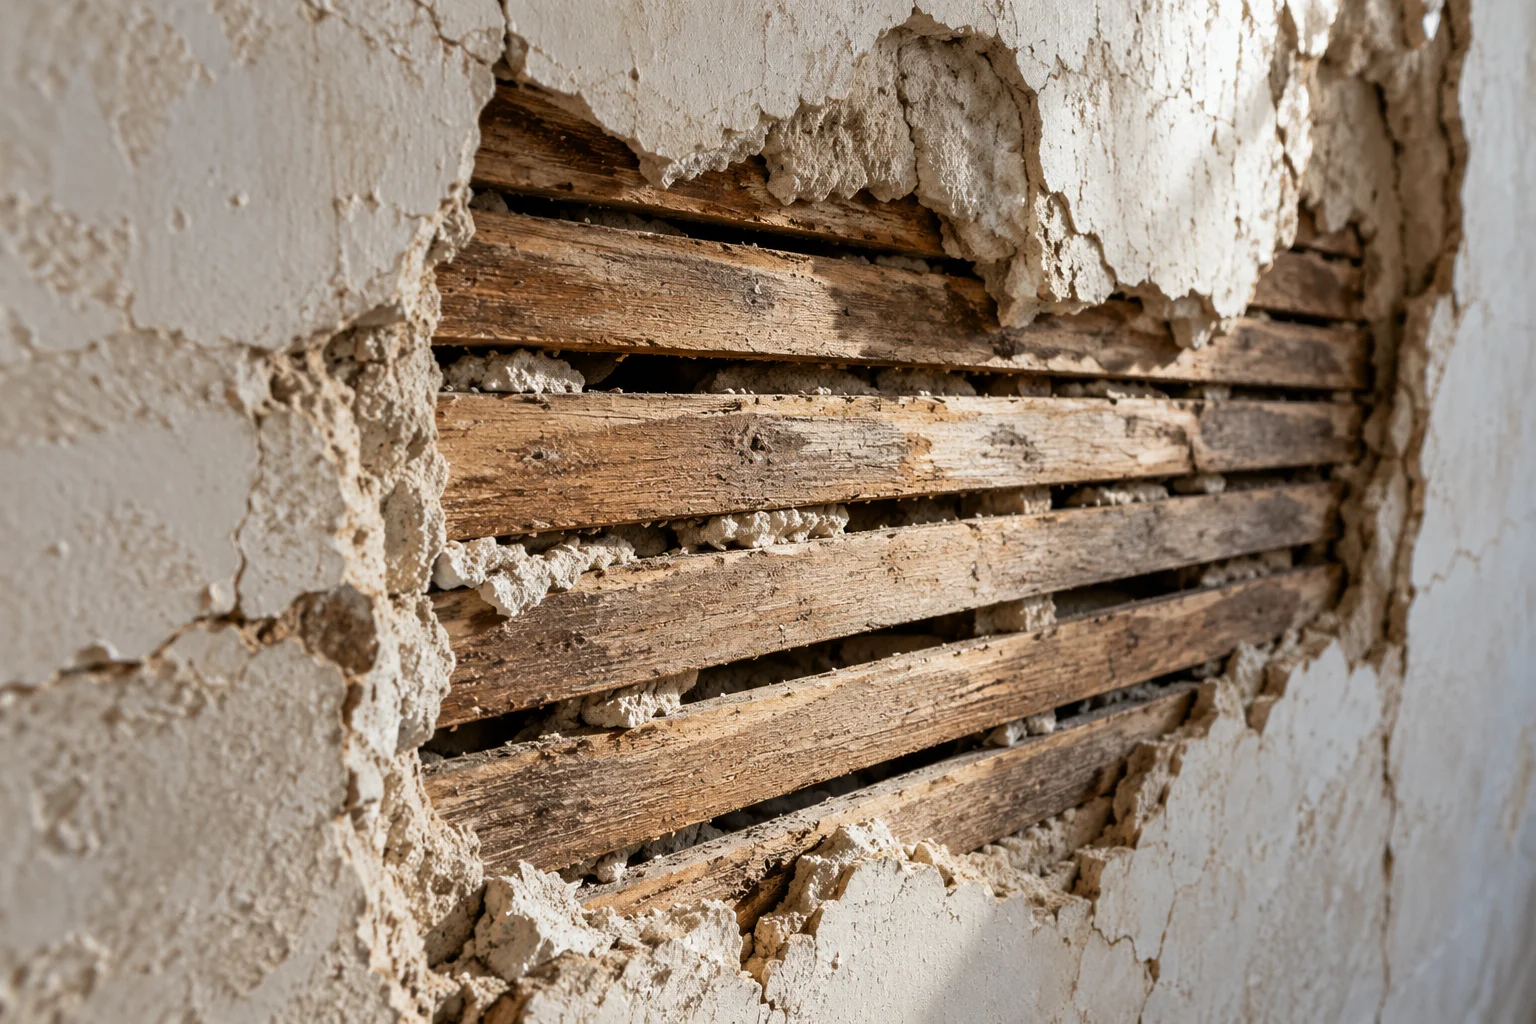
Wood lath expands and contracts as humidity rises and falls. After wetting, underlying laths can swell and shrink, breaking plaster nibs.
Record the distinction between separation at the finish and separation at the lath. Keep that distinction in the repair specification.
How should vapor permeability enter the comparison?
For internal insulation of traditional solid walls, permeability requirements vary with the building and its context. Moisture moves through materials as liquid water and as vapor.
Compare the actual wall proposals, including the finish and insulation, before choosing a moisture-control approach.
Non-hydraulic lime hardens only by carbonation. Natural hydraulic lime also forms calcium silicates and aluminates in the presence of water. The more hydraulic a lime, the greater its strength but the lower its permeability and flexibility. The slow set and workability of non-hydraulic lime suit internal plasterwork.
For painted gypsum board, keep each measurement with its test context:
- BSC measured latex-painted gypsum-board samples at roughly 8-10 perms in dry-cup measurements.
- Laboratory data summarized by BSC typically gives latex-painted gypsum board a value of ~3 perms in dry-cup testing.
Use those conditions when requesting a comparison for the proposed wall finish.
With internal insulation, warm indoor vapor can condense at the cold side of insulation, on the external wall, or in the insulation. Water can carry salts from masonry to the plaster surface as efflorescence. The moisture source must be eliminated before replastering the damaged area. Repairs to a wet base will fail again.
How does the NPS repair approach distinguish the damage?
Match the repair to the damaged part of the construction.
Finish-coat separation
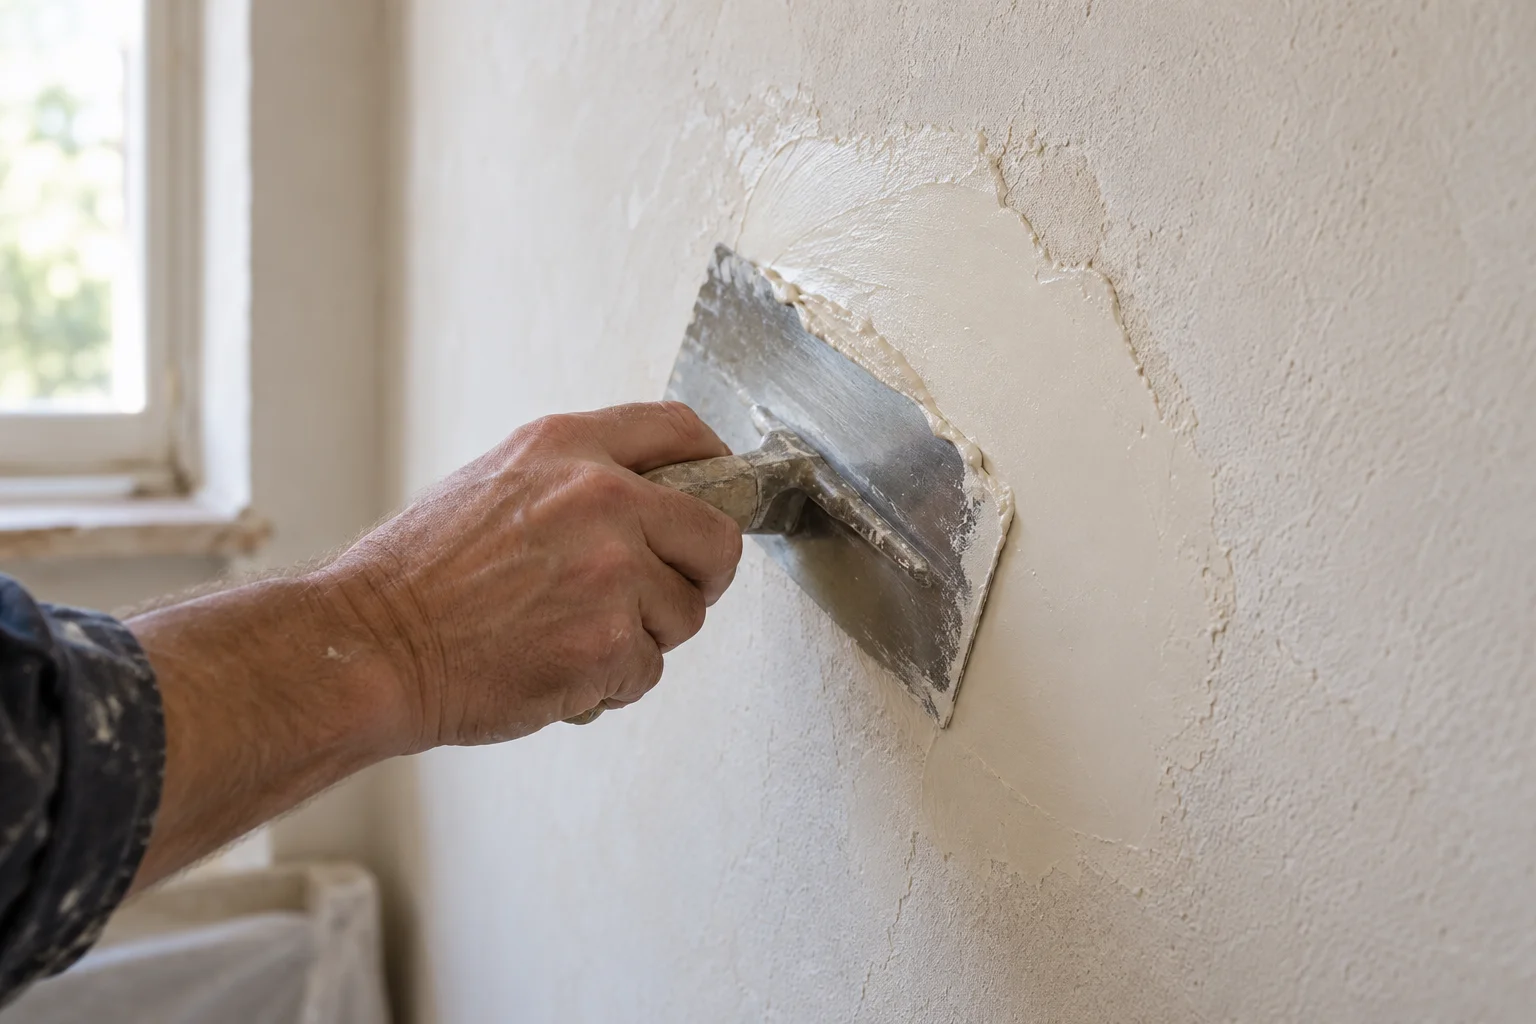
For a delaminated finish coat, the plasterer applies a liquid plaster-bonding agent to the base coat before replastering with a new lime finish coat.
Larger holes down to wood lath
For larger holes missing the plaster coats, loose lath is re-nailed before patching. To provide more reliable keying and strengthen the patch, expanded metal lath should be attached over the wood lath with tie wires or lath nails. Plaster is applied in three layers over the metal lath, lapping each new layer over the old plaster to join the patch.
Loose ceiling plaster
Keys may have deteriorated because of localized moisture, poor-quality plaster, or structural overloading; the surrounding system may be intact. Loose ceiling plaster can be reattached with flat-head wood screws and plaster washers if surrounding areas are reasonably sound.
Adhesive re-keying
Adhesive re-keying to conserve decorative surfaces or wallpaper requires a skilled conservator. A conservator injects acrylic adhesive through plaster-face holes or accessible lath. Plywood bracing holds loose plaster until the adhesive bonding mixture sets.
Separate the proposed finish repair, patching, mechanical reattachment, and adhesive conservation work in the scope.
What matters when gypsum-board replacement is proposed?
After damaged plaster is removed, replacement choice depends in part on original plaster thickness and lath condition. Replacement should retain the previous projection of window and door trim from the plaster wall.
Ask for the existing and proposed wall sections at the window and door casings. Record the wall surface and the trim projection together.
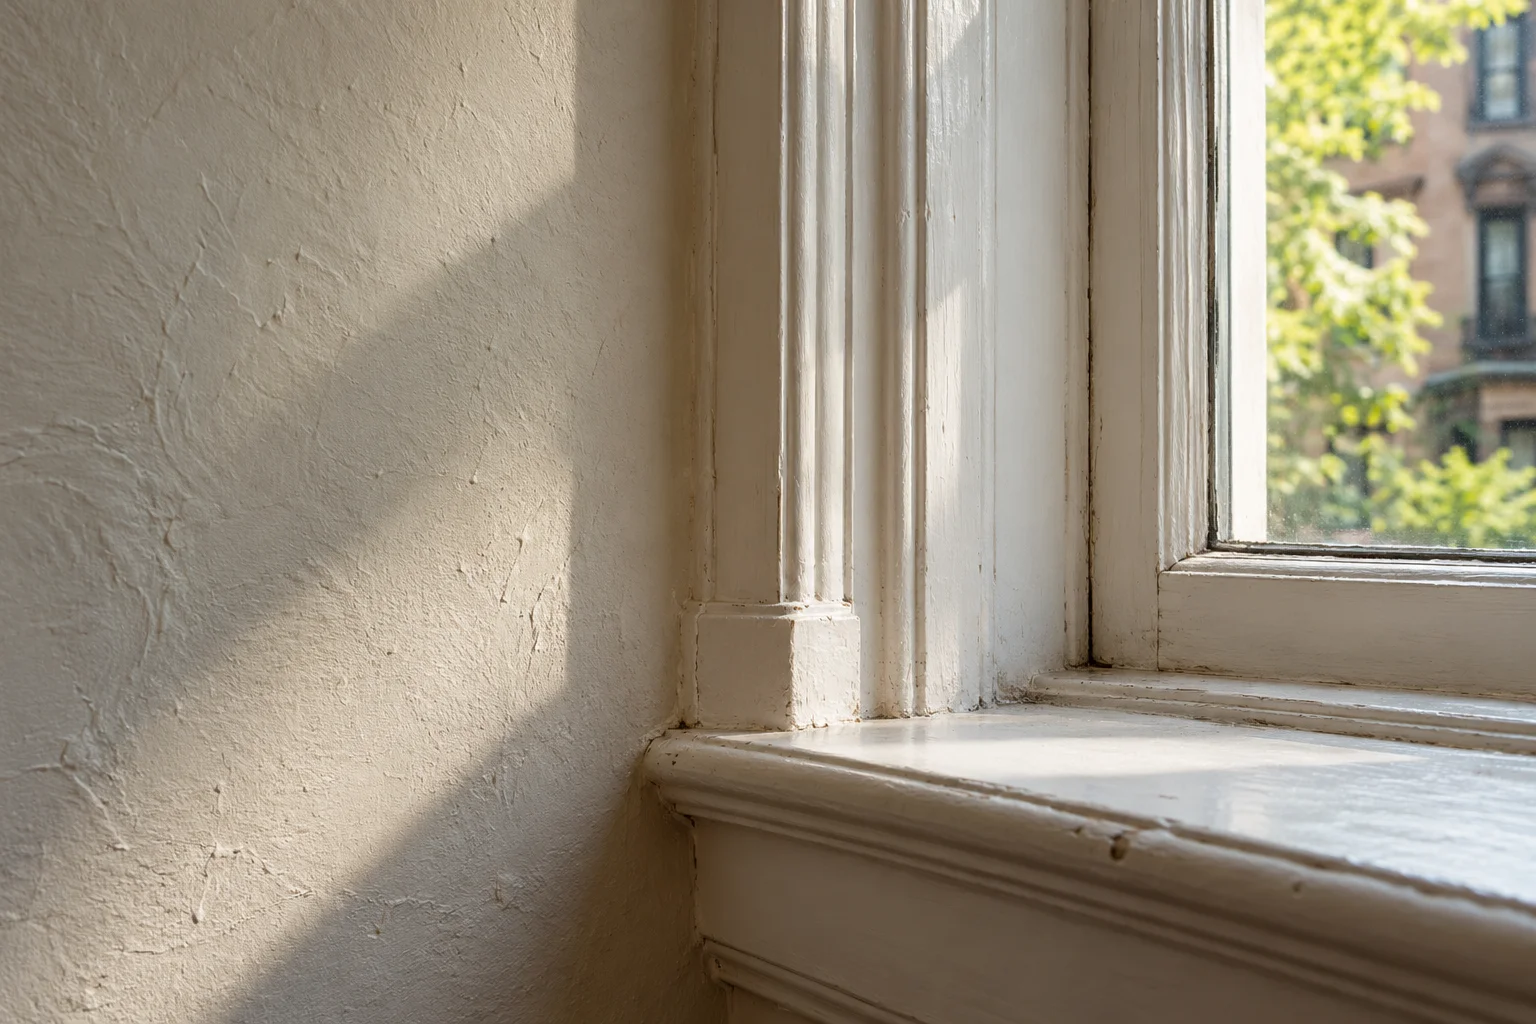
The NPS description gives the minimum plaster thickness over wood lath as about 3/4 to 7/8 inch.
Use the existing construction as the reference when drawing the proposed replacement. Keep trim details beside the material selection, rather than leaving them until finishing work.
Landmark-interior survey checklist
Copy these prompts into the project scope before choosing repair or replacement:
- Record each affected wall or ceiling and photograph the surrounding plaster.
- Identify the substrate and surviving coats.
- Record the moisture source and the work proposed to eliminate it.
- Distinguish finish separation, key loss, and missing plaster.
- Record the lath condition and the condition of adjacent plaster.
- Draw the existing and proposed trim reveals.
- Separate local patching, ceiling reattachment, adhesive conservation, and replacement in the scope.
- Record landmark designation and permit requirements.
Work in a designated New York City interior landmark requires an LPC permit. For NYC designated properties, interior work requiring a Buildings Department permit requires an LPC permit. For NYC designated properties, interior work affecting the exterior requires an LPC permit.
Continue to hospitality wall finishes when considering the visual finish. Keep the repair scope and material decision alongside that selection.
Frequently asked questions
Can wet lime plaster be retained?
Older lime-based plasters may soften and swell when wet, usually without collapse, and harden again once dry. Removing deteriorated plaster caused by rising damp may be necessary to let masonry dry.
Does historic plaster always need the same patch build-up?
A one-coat patch is appropriate where the original lath had only one plaster coat.
What comes before patching structural damage?
If major structural problems are found to be the source of the plaster damage, the structural problem should be corrected.
Sources
- National Park Service — Repairing Historic Flat Plaster: Walls and Ceilings.
- SPAB — Lime.
- Building Science Corporation — Building Materials Property Table for All Climates.
- Historic England — Internal Wall Insulation.
- National Park Service — Controlling Unwanted Moisture in Historic Buildings.
- Historic England — Repair.
- New York City Landmarks Preservation Commission — Permits and Making Alterations.